
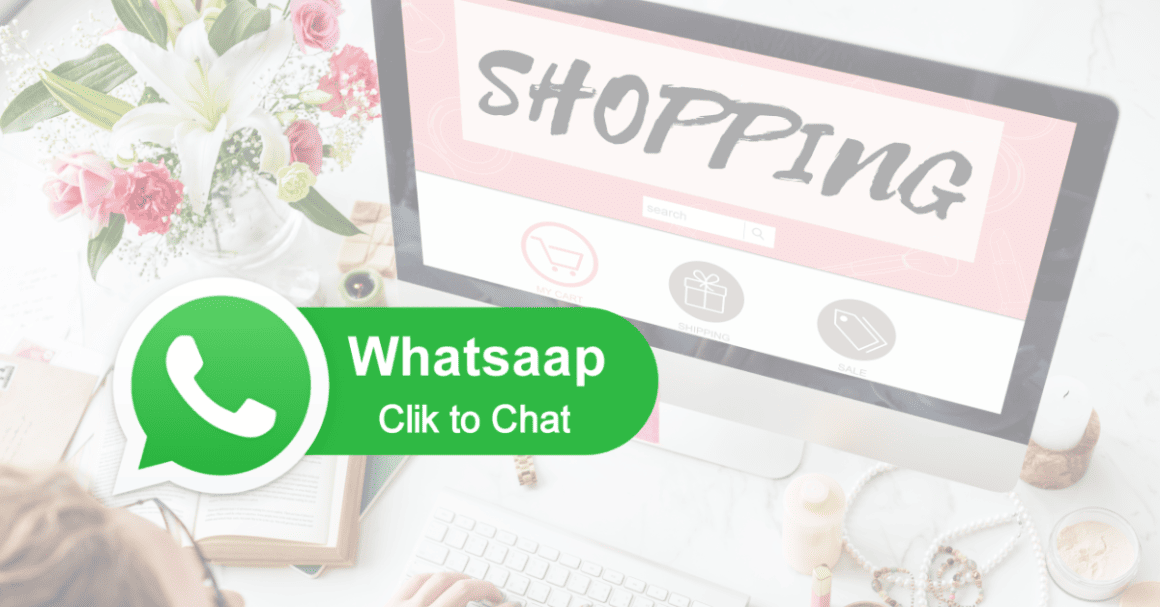
Do you want to add a WhatsApp button to your Shopify website?
WhatsApp is one of the most popular ways customers reach a business in Southeast Asia. Having a WhatsApp button on your website lets customers chat with you easily, which can increase in-store sales. If your business is based in Singapore, you could also let them pay through WhatsApp Payments.
In this article, we’ll show you how to generate a simple WhatsApp button for free using 2 different apps:
Wati.io Free WhatsApp Chat Button (No Account Required)
Elfsight Free WhatsApp Chat Button (Only 200 Views)
At the end of the article, I will also show you how to add the button that you generated into your Shopify store.
By the way, we are a professional Shopify Partner. If you need help adding a WhatsApp button to your website, our install app service can help you with that. Just submit your project details and we’ll give you a quote within 1 working day.
How Free WhatsApp Chat Buttons Work
Most free WhatsApp buttons prompt users to start a conversation on the WhatsApp application installed on the device they are on. You will put a placeholder message in a chat bubble, and link your WhatsApp phone number to the button.
The most common way to add a free WhatsApp button is by embedding the WhatsApp button code into your website. In this case, you will need to embed the code into your Shopify store.
Wati.io Free WhatsApp Chat Button (No Account Required)
Wati offers the easiest way to create a WhatsApp button embed code for your website. You don’t even need to login.
Just go to Wati’s WhatsApp Button creator page and configure your WhatsApp button.
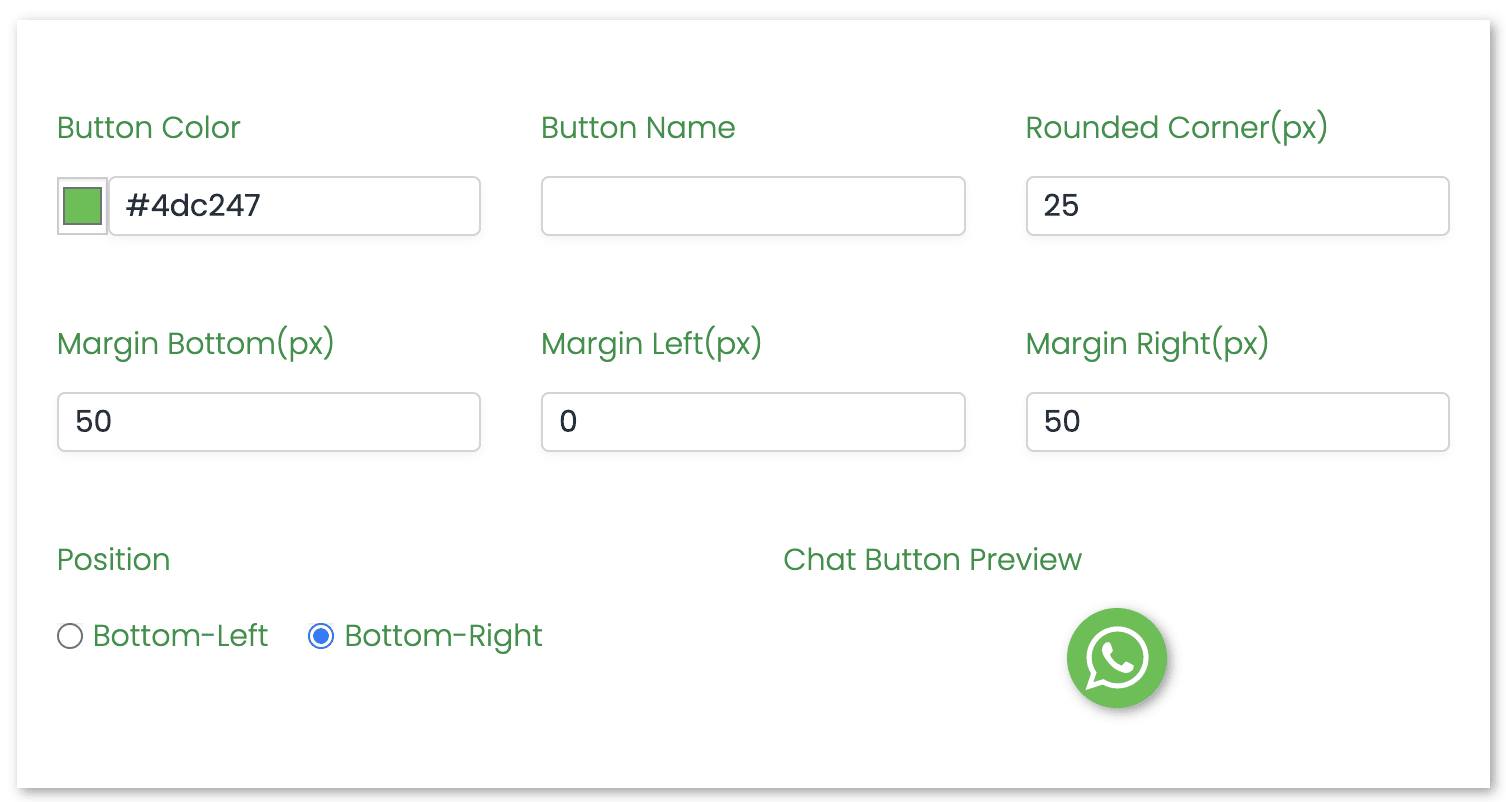
Step 1: Configure the chat button settings
The first thing you need to do is configure how the button will look. If you’re happy with the default settings, you can leave this alone.
Step 2: Configure the chat widget settings
There are two parts to configure in the chat widget. This widget shows up after your customers click on the WhatsApp button.
First, configure the wording that will appear in the widget displayed to your customers. Make sure that the brand and messaging fits yours.
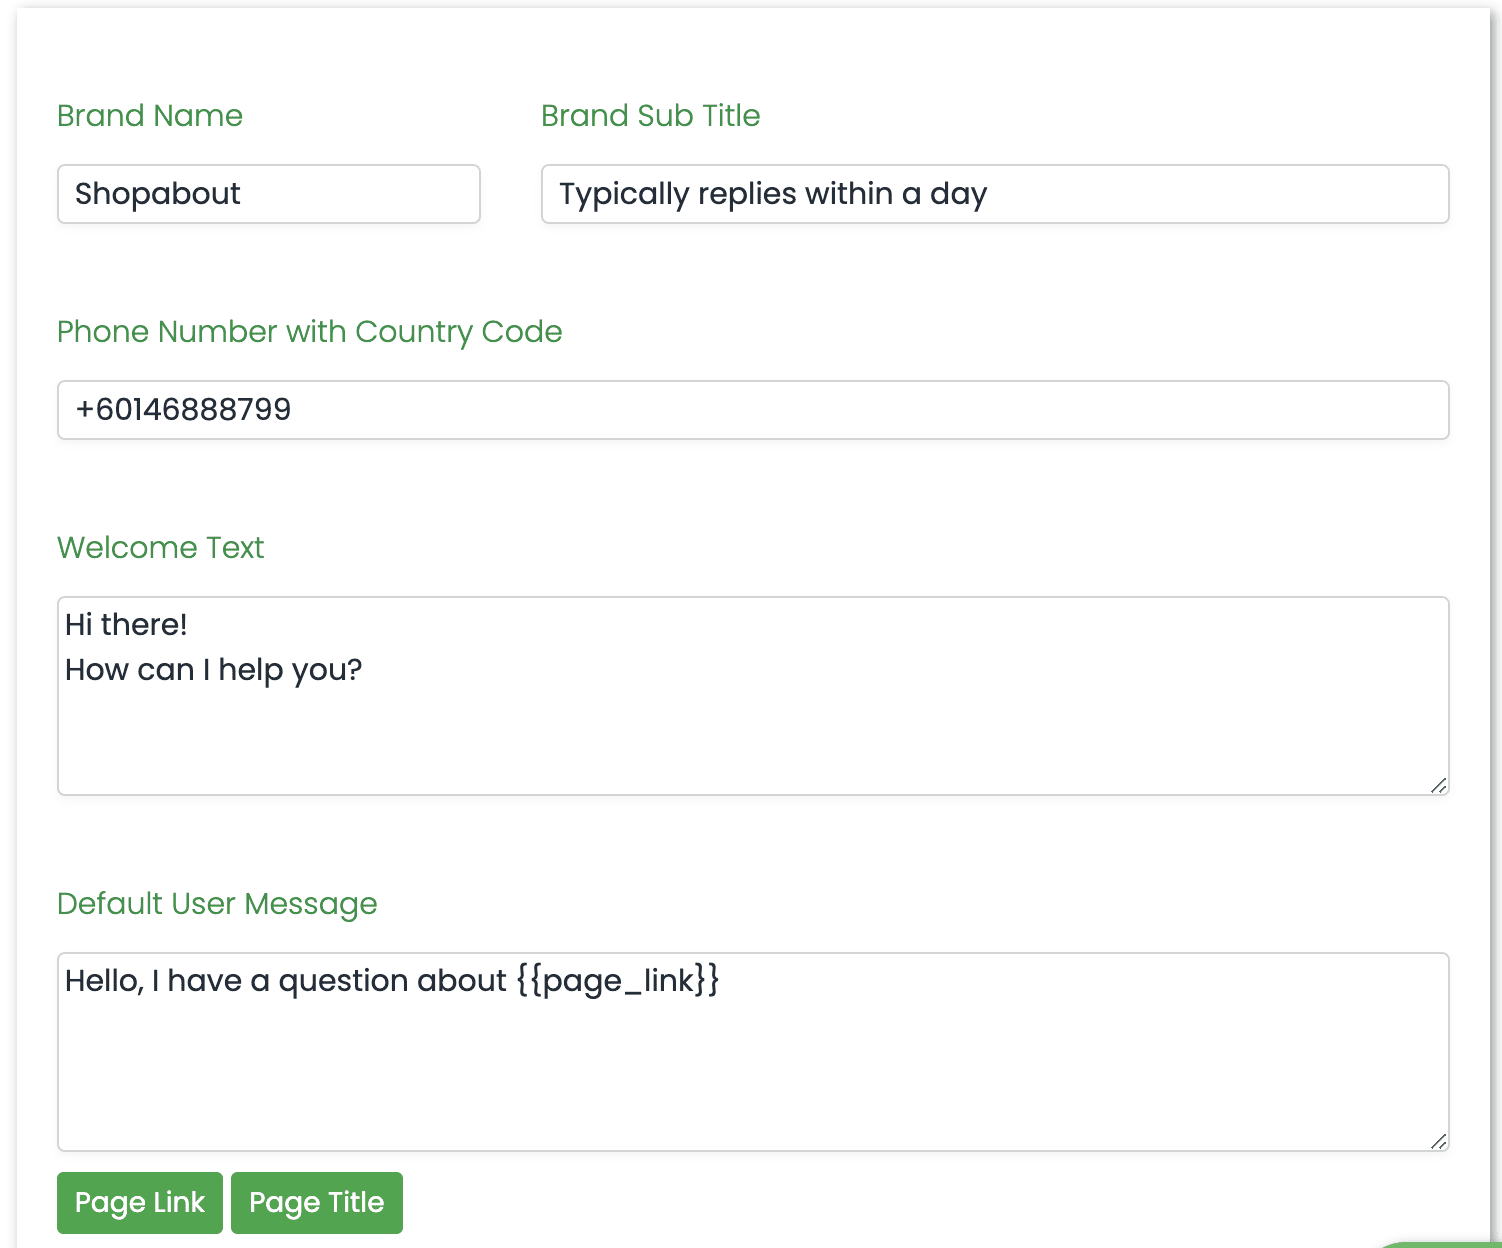
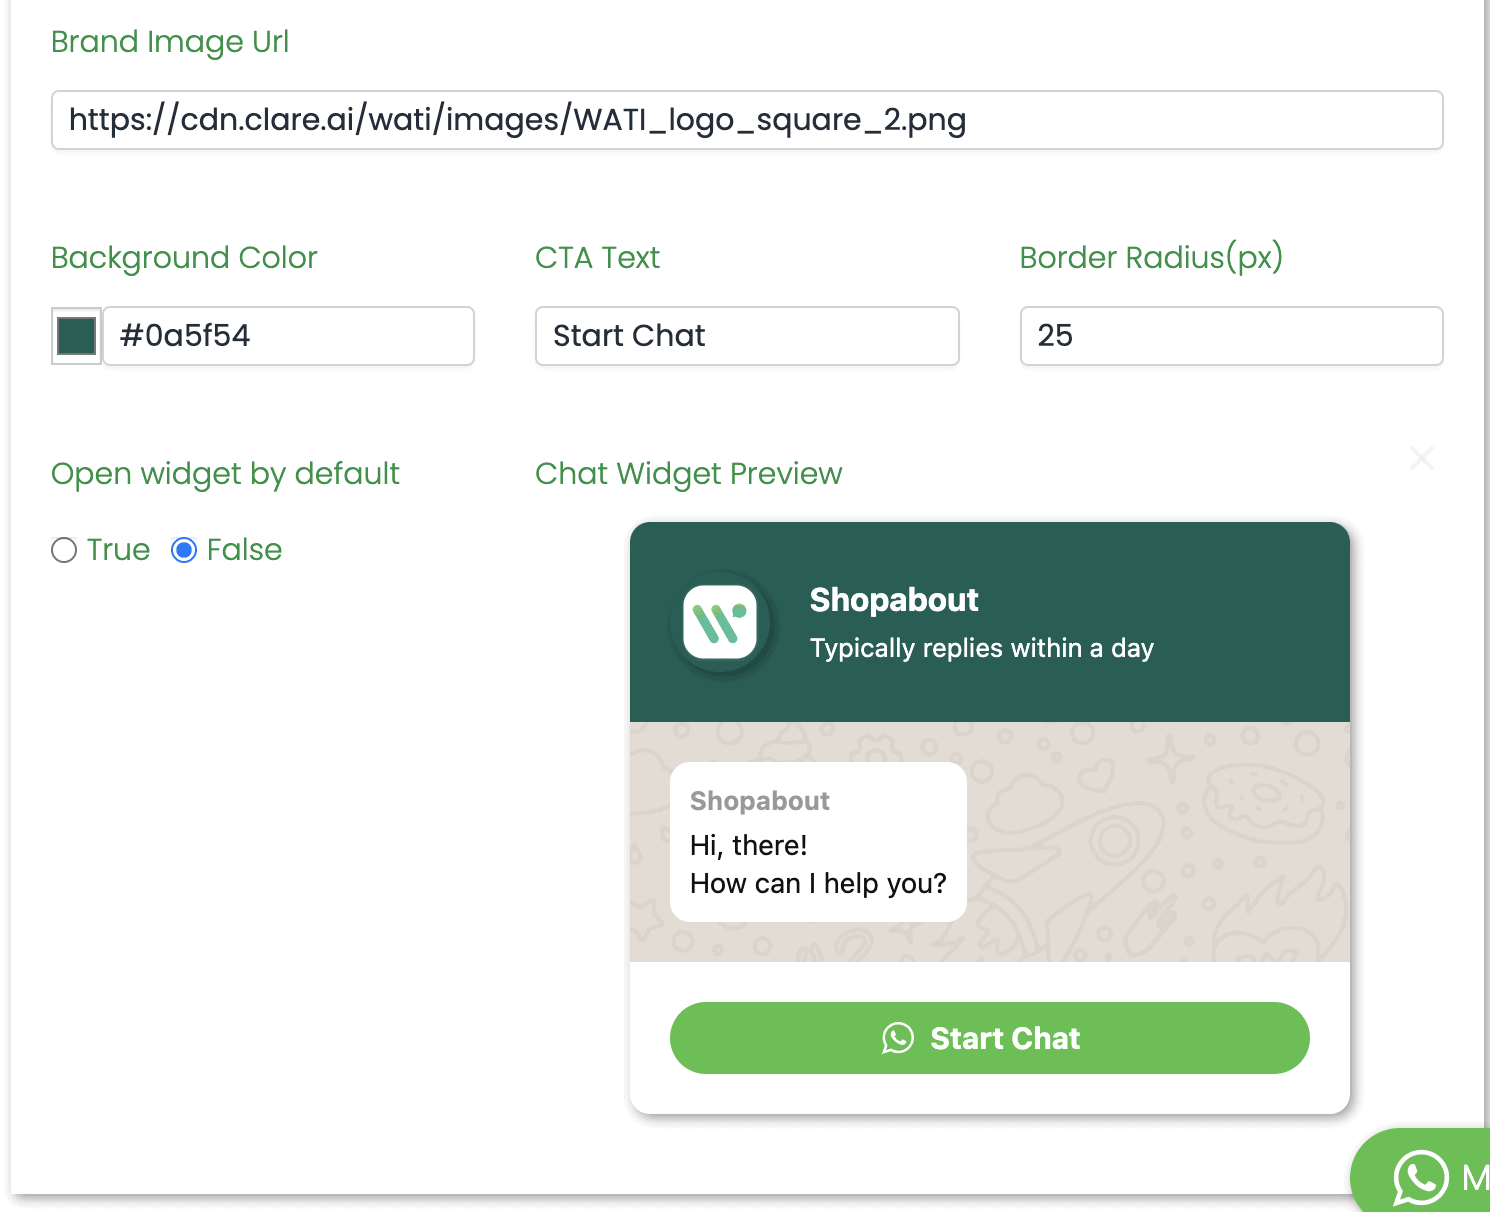
Secondly, you’ll need to configure the chat widget display. Here, you can add your own logo and change the colours of the widget to fit your website or brand theme.
You’ll need to have the logo image hosted elsewhere and copy the link to it under the ‘Brand Image URL’.
Step 3: Generate WhatsApp button embed code
When you are happy with the configuration, you can click on ‘Generate Widget Code’ to generate the code.

Once you have done that, you will get a code to embed the button on your website:
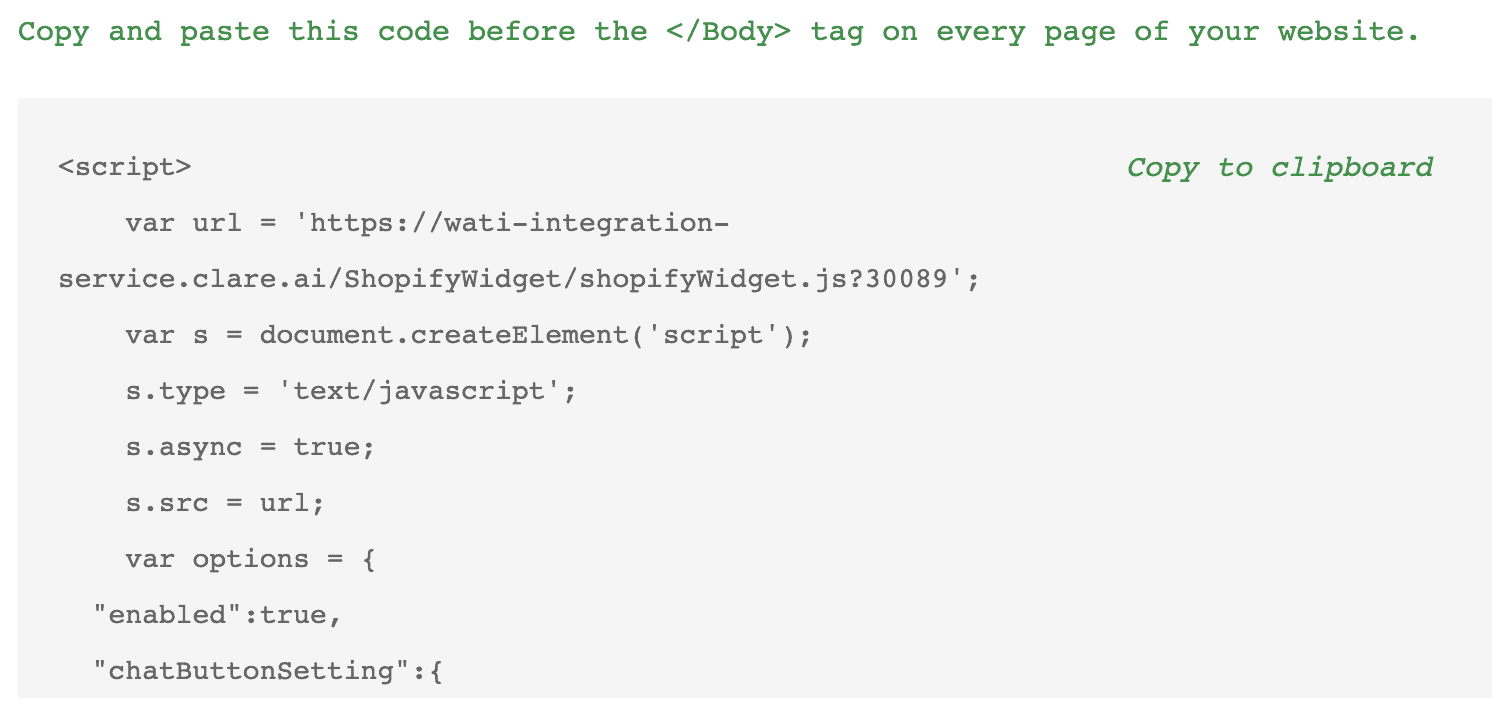
Step 4: Embed code to Shopify theme
You can now embed this code to your Shopify theme (click to jump to this section).
ChatDaddy Free WhatsApp Chat Button (Account Required)
You can now embed this code to your Shopify theme (click to jump to this section).
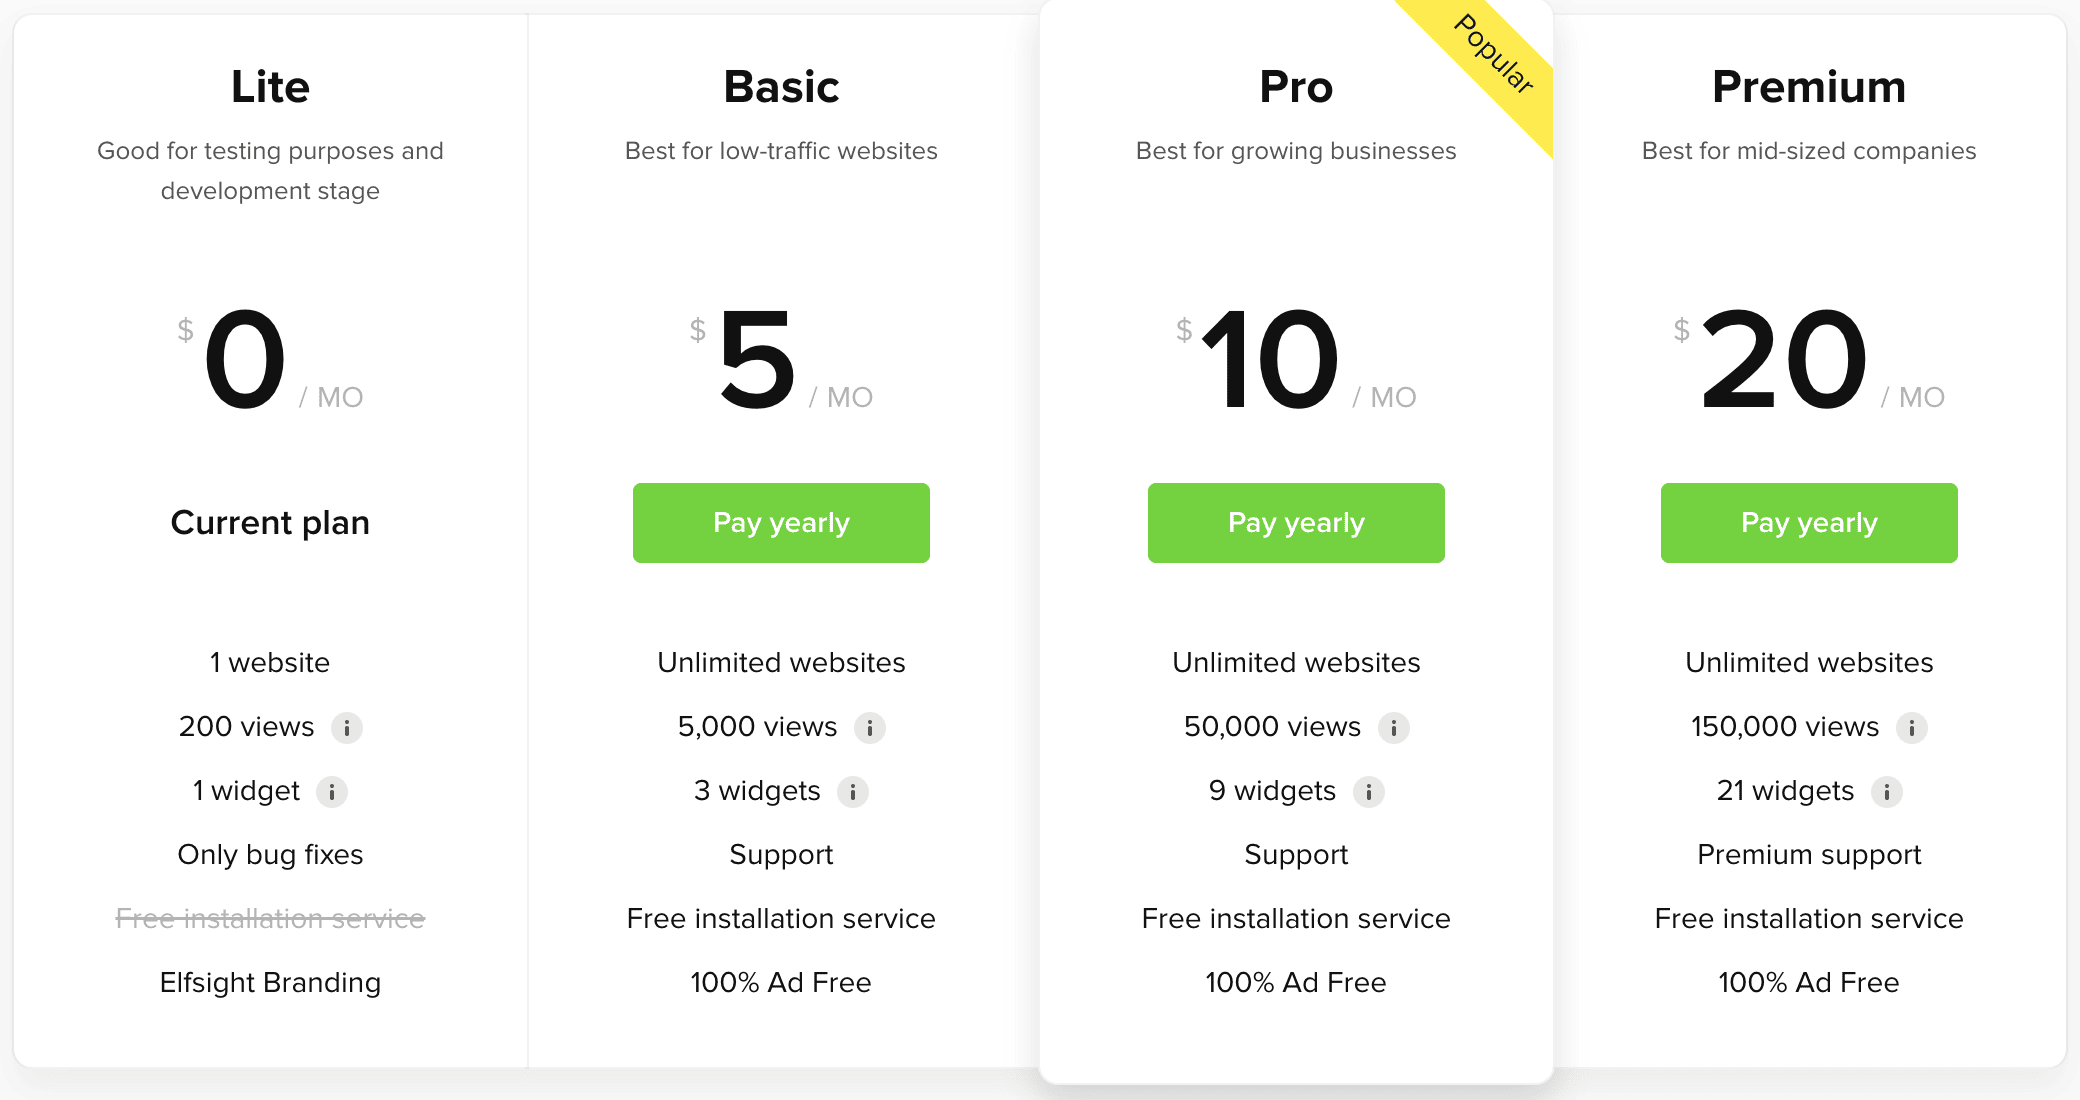
Elfsight Free WhatsApp Chat Button (200 Views)
Elfsight also lets you create a free WhatsApp Chat Button for your website, but with limitations.
Step 1: Create your Elfsight account
You have to first create an Elfsight account. It’s free to register an account.
Step 2: Look for the WhatsApp Chat application
Once you have signed up, you’ll need to look for the WhatsApp Chat widget amongst the 80+ applications offered on the platform.
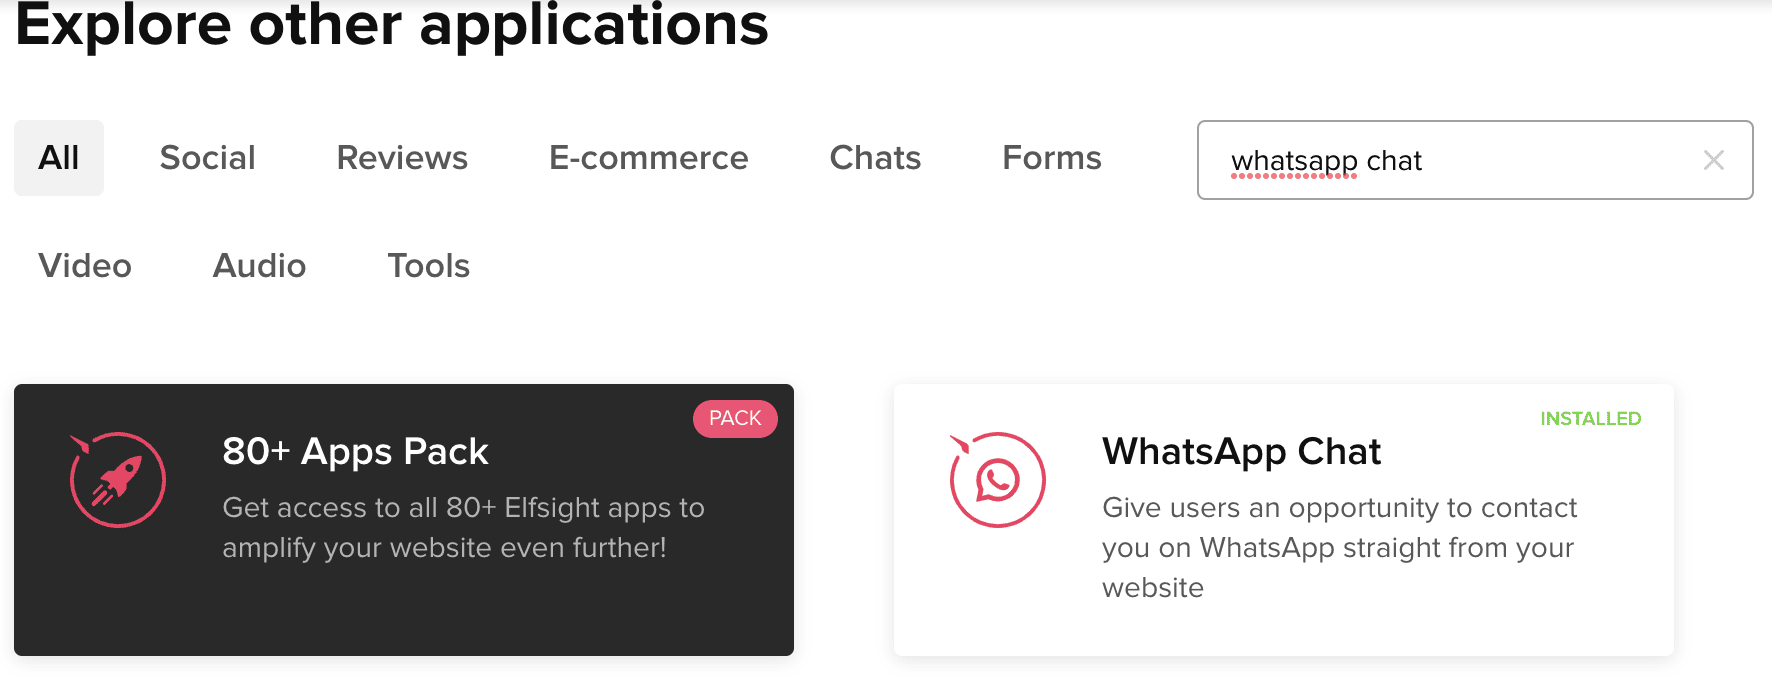
Click on the button to configure the widget.
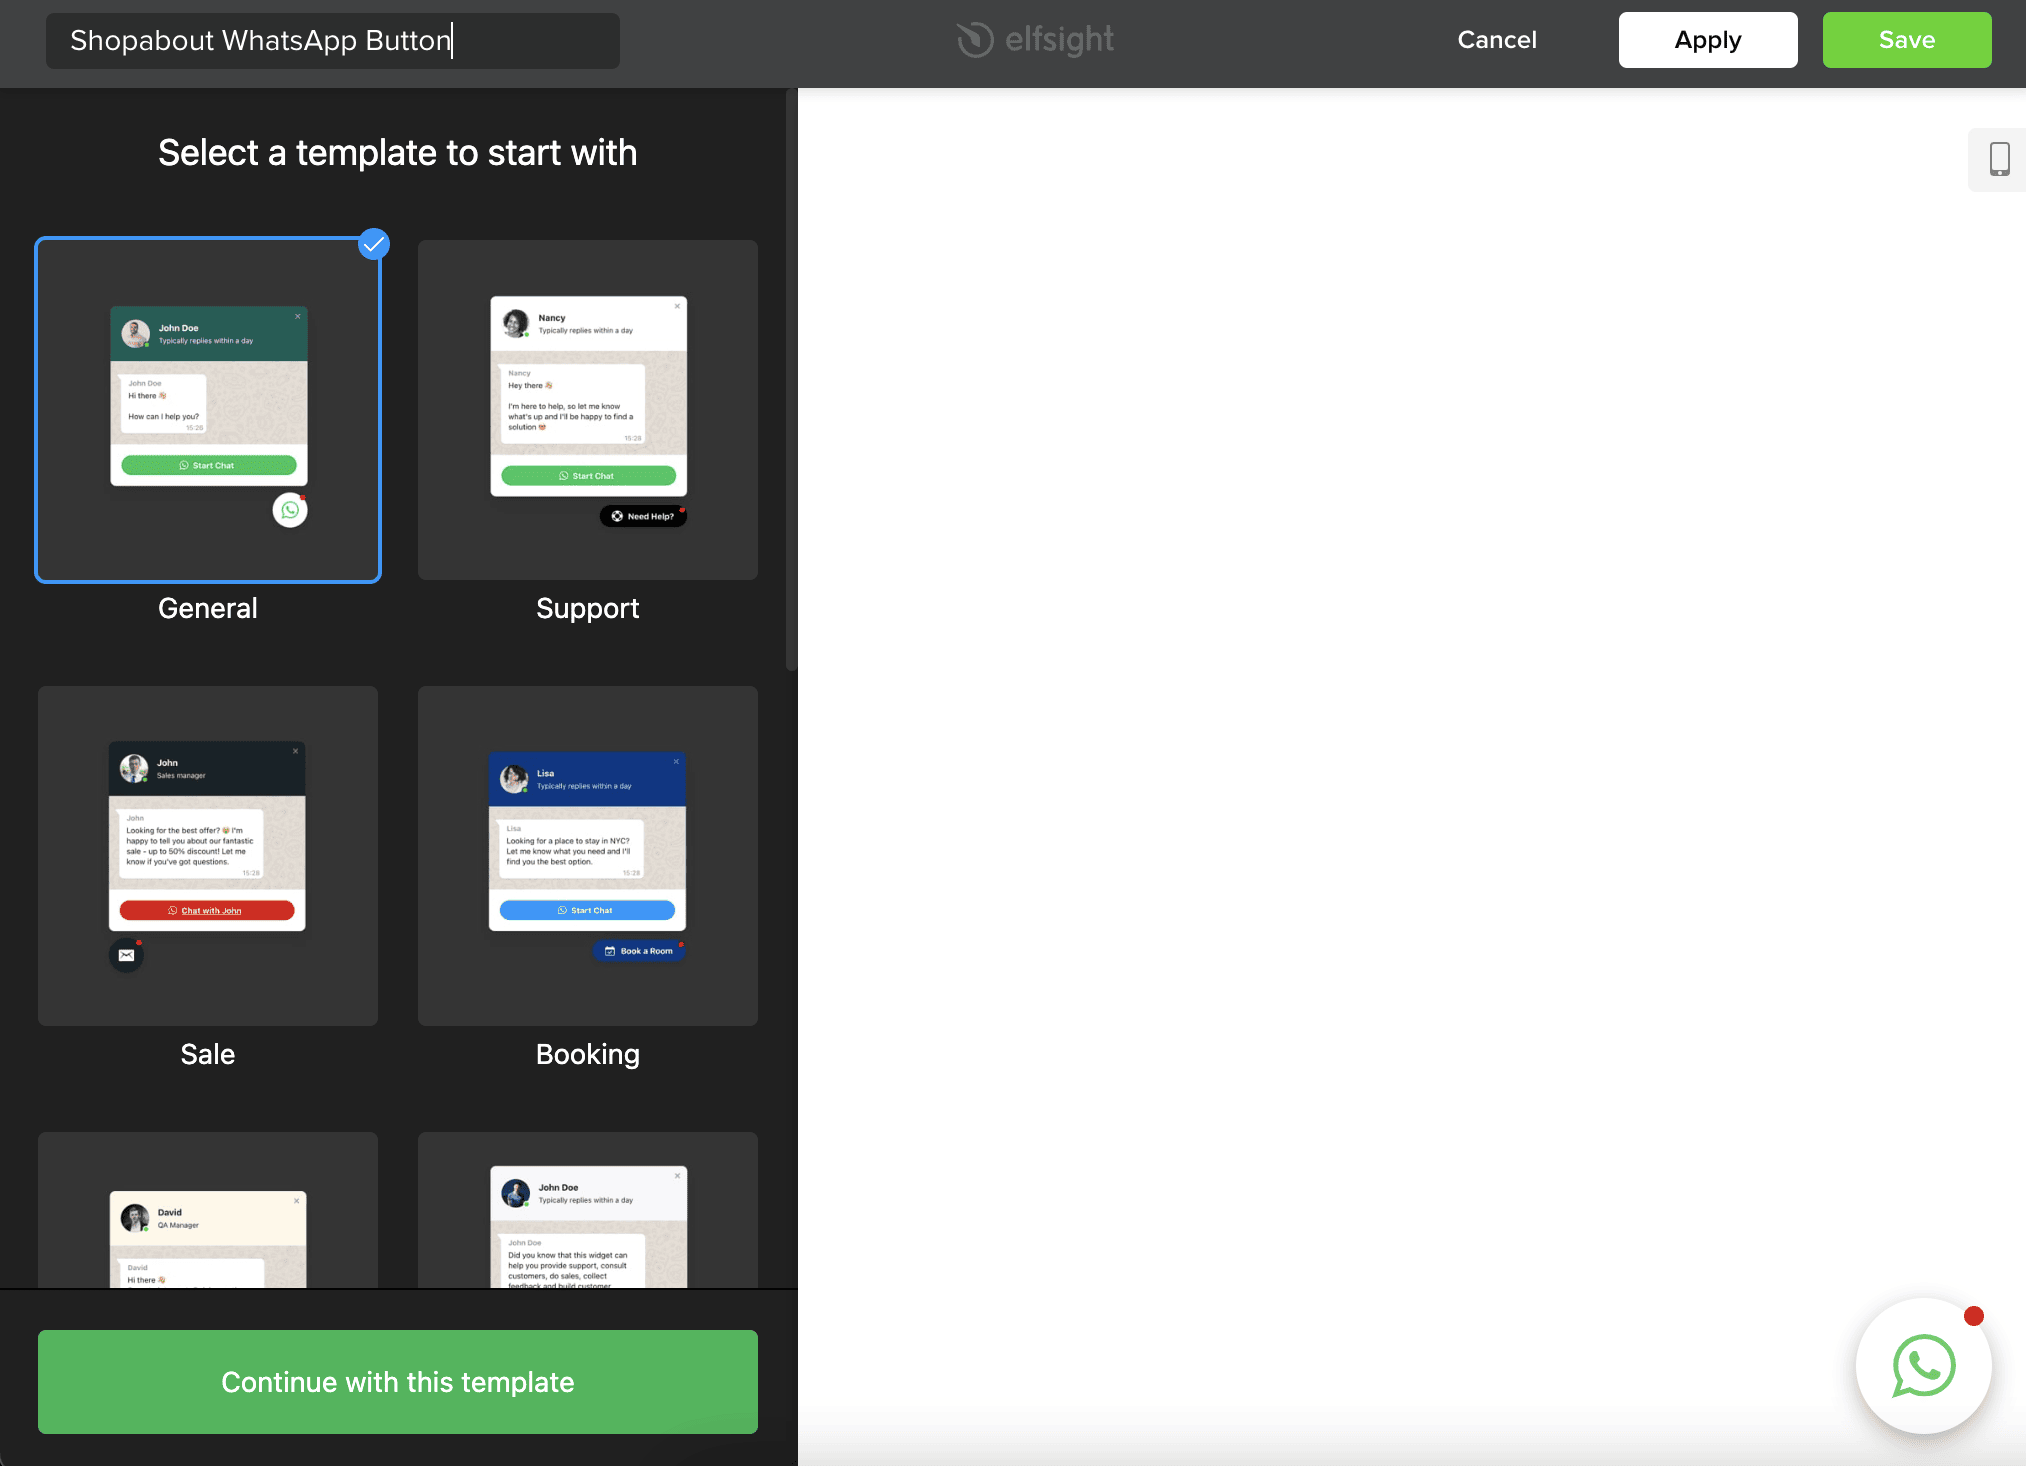
Step 3: Choose a template
There are many different templates you can choose from. Pick the one that best fits your display and design requirements.
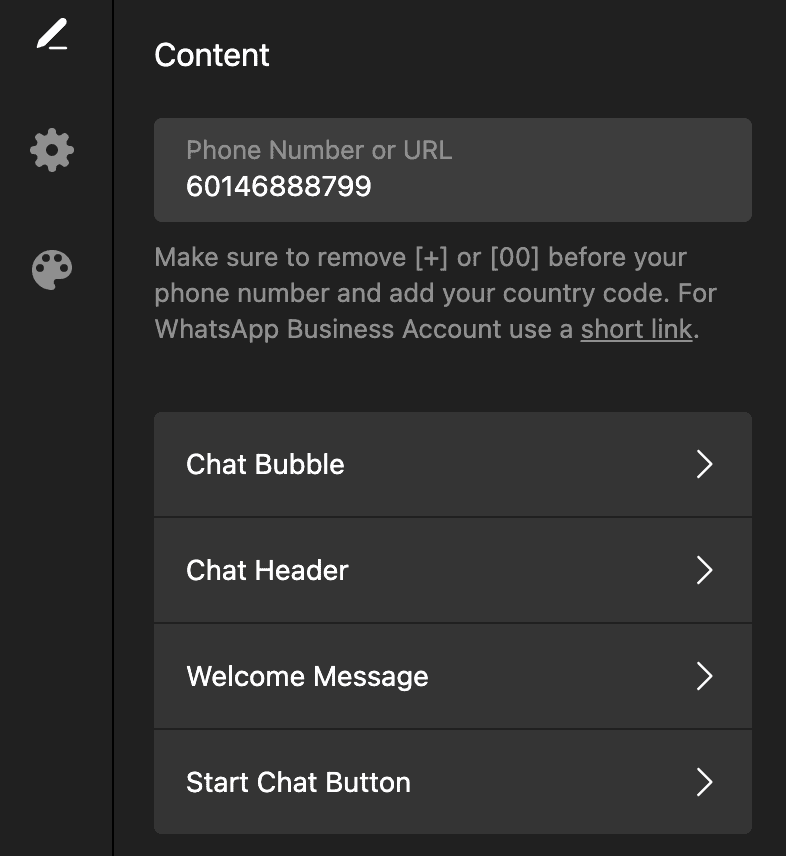
Step 4: Configure the content of your chat widget
Next, configure your widget content. Here you can add a phone number and configure the chat bubble, header, welcome message as well as the start chat button.
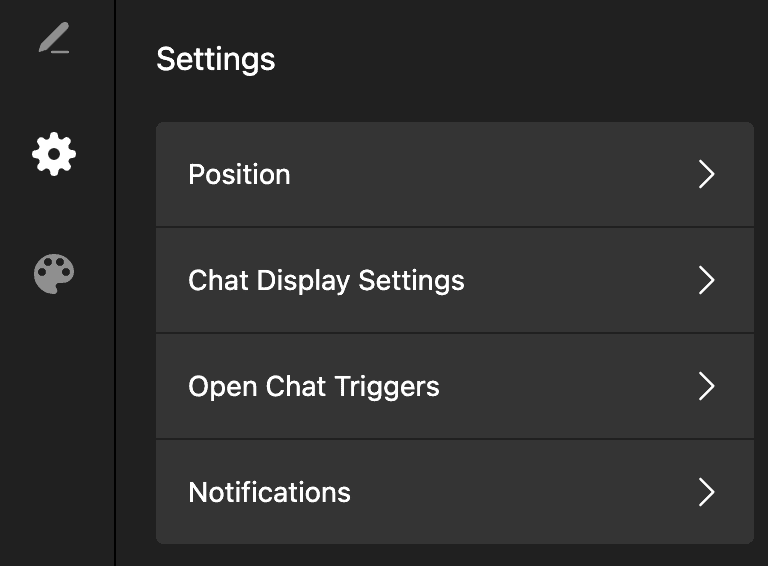
Step 5: Adjust the chat widget settings
Then, adjust the settings of the chat widget to your desired ones. Here you can adjust the chat button position, display settings, open chat triggers and notifications.
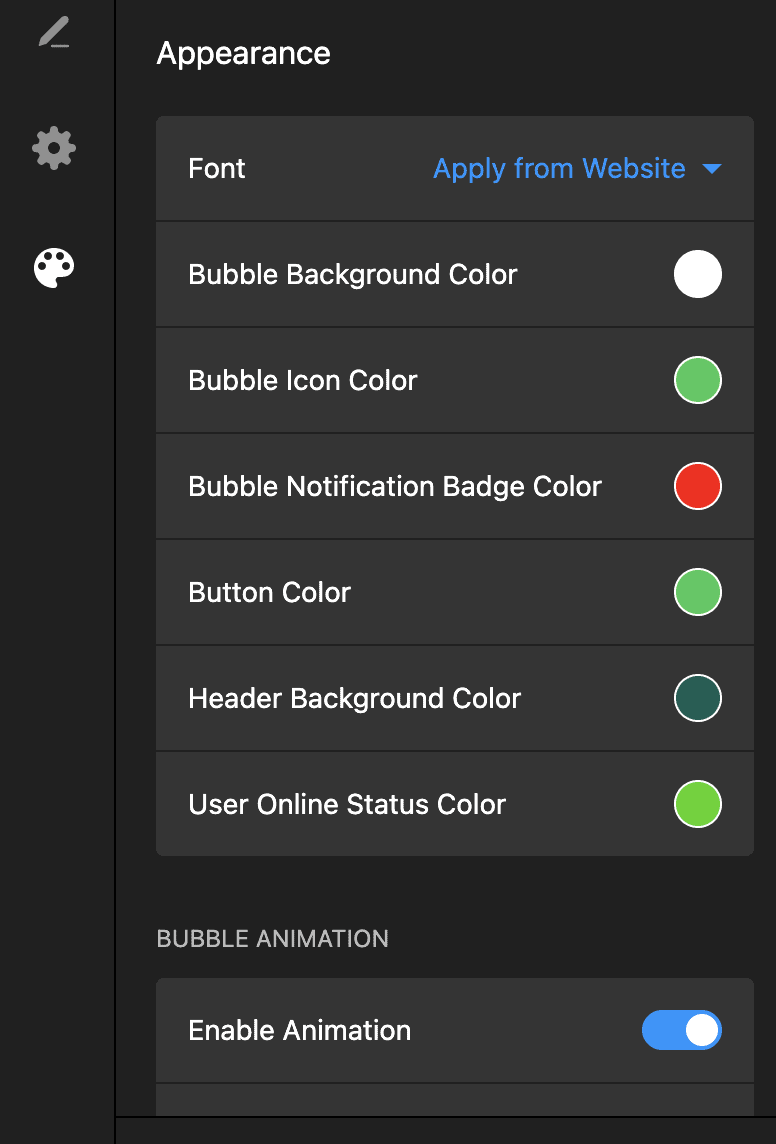
Step 6: Adjust the appearance of your chat widget
Finally, you can adjust the appearance of your text widget by changing the colours to suit your theme.
Step 7: Generate embed code and embed it to your Shopify theme
Once you are happy with your chat widget button, click on ‘Apply to website’ to generate the embed code.

You can now embed this code to your Shopify theme (click to jump to this section).
How to Embed WhatsApp Button Code into a Shopify Store
To embed the WhatsApp button code into your Shopify store, you will need to add it to your Shopify theme.
Go to:
Online Store > Themes
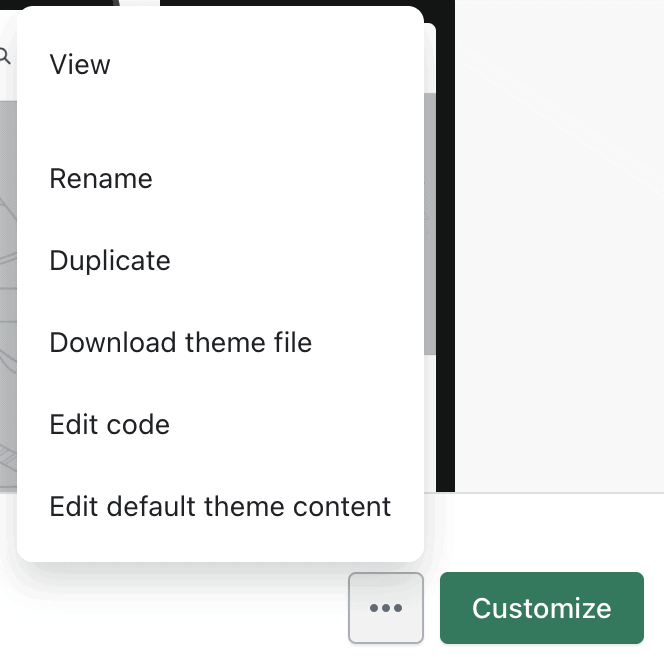
Then, click on Edit Code.
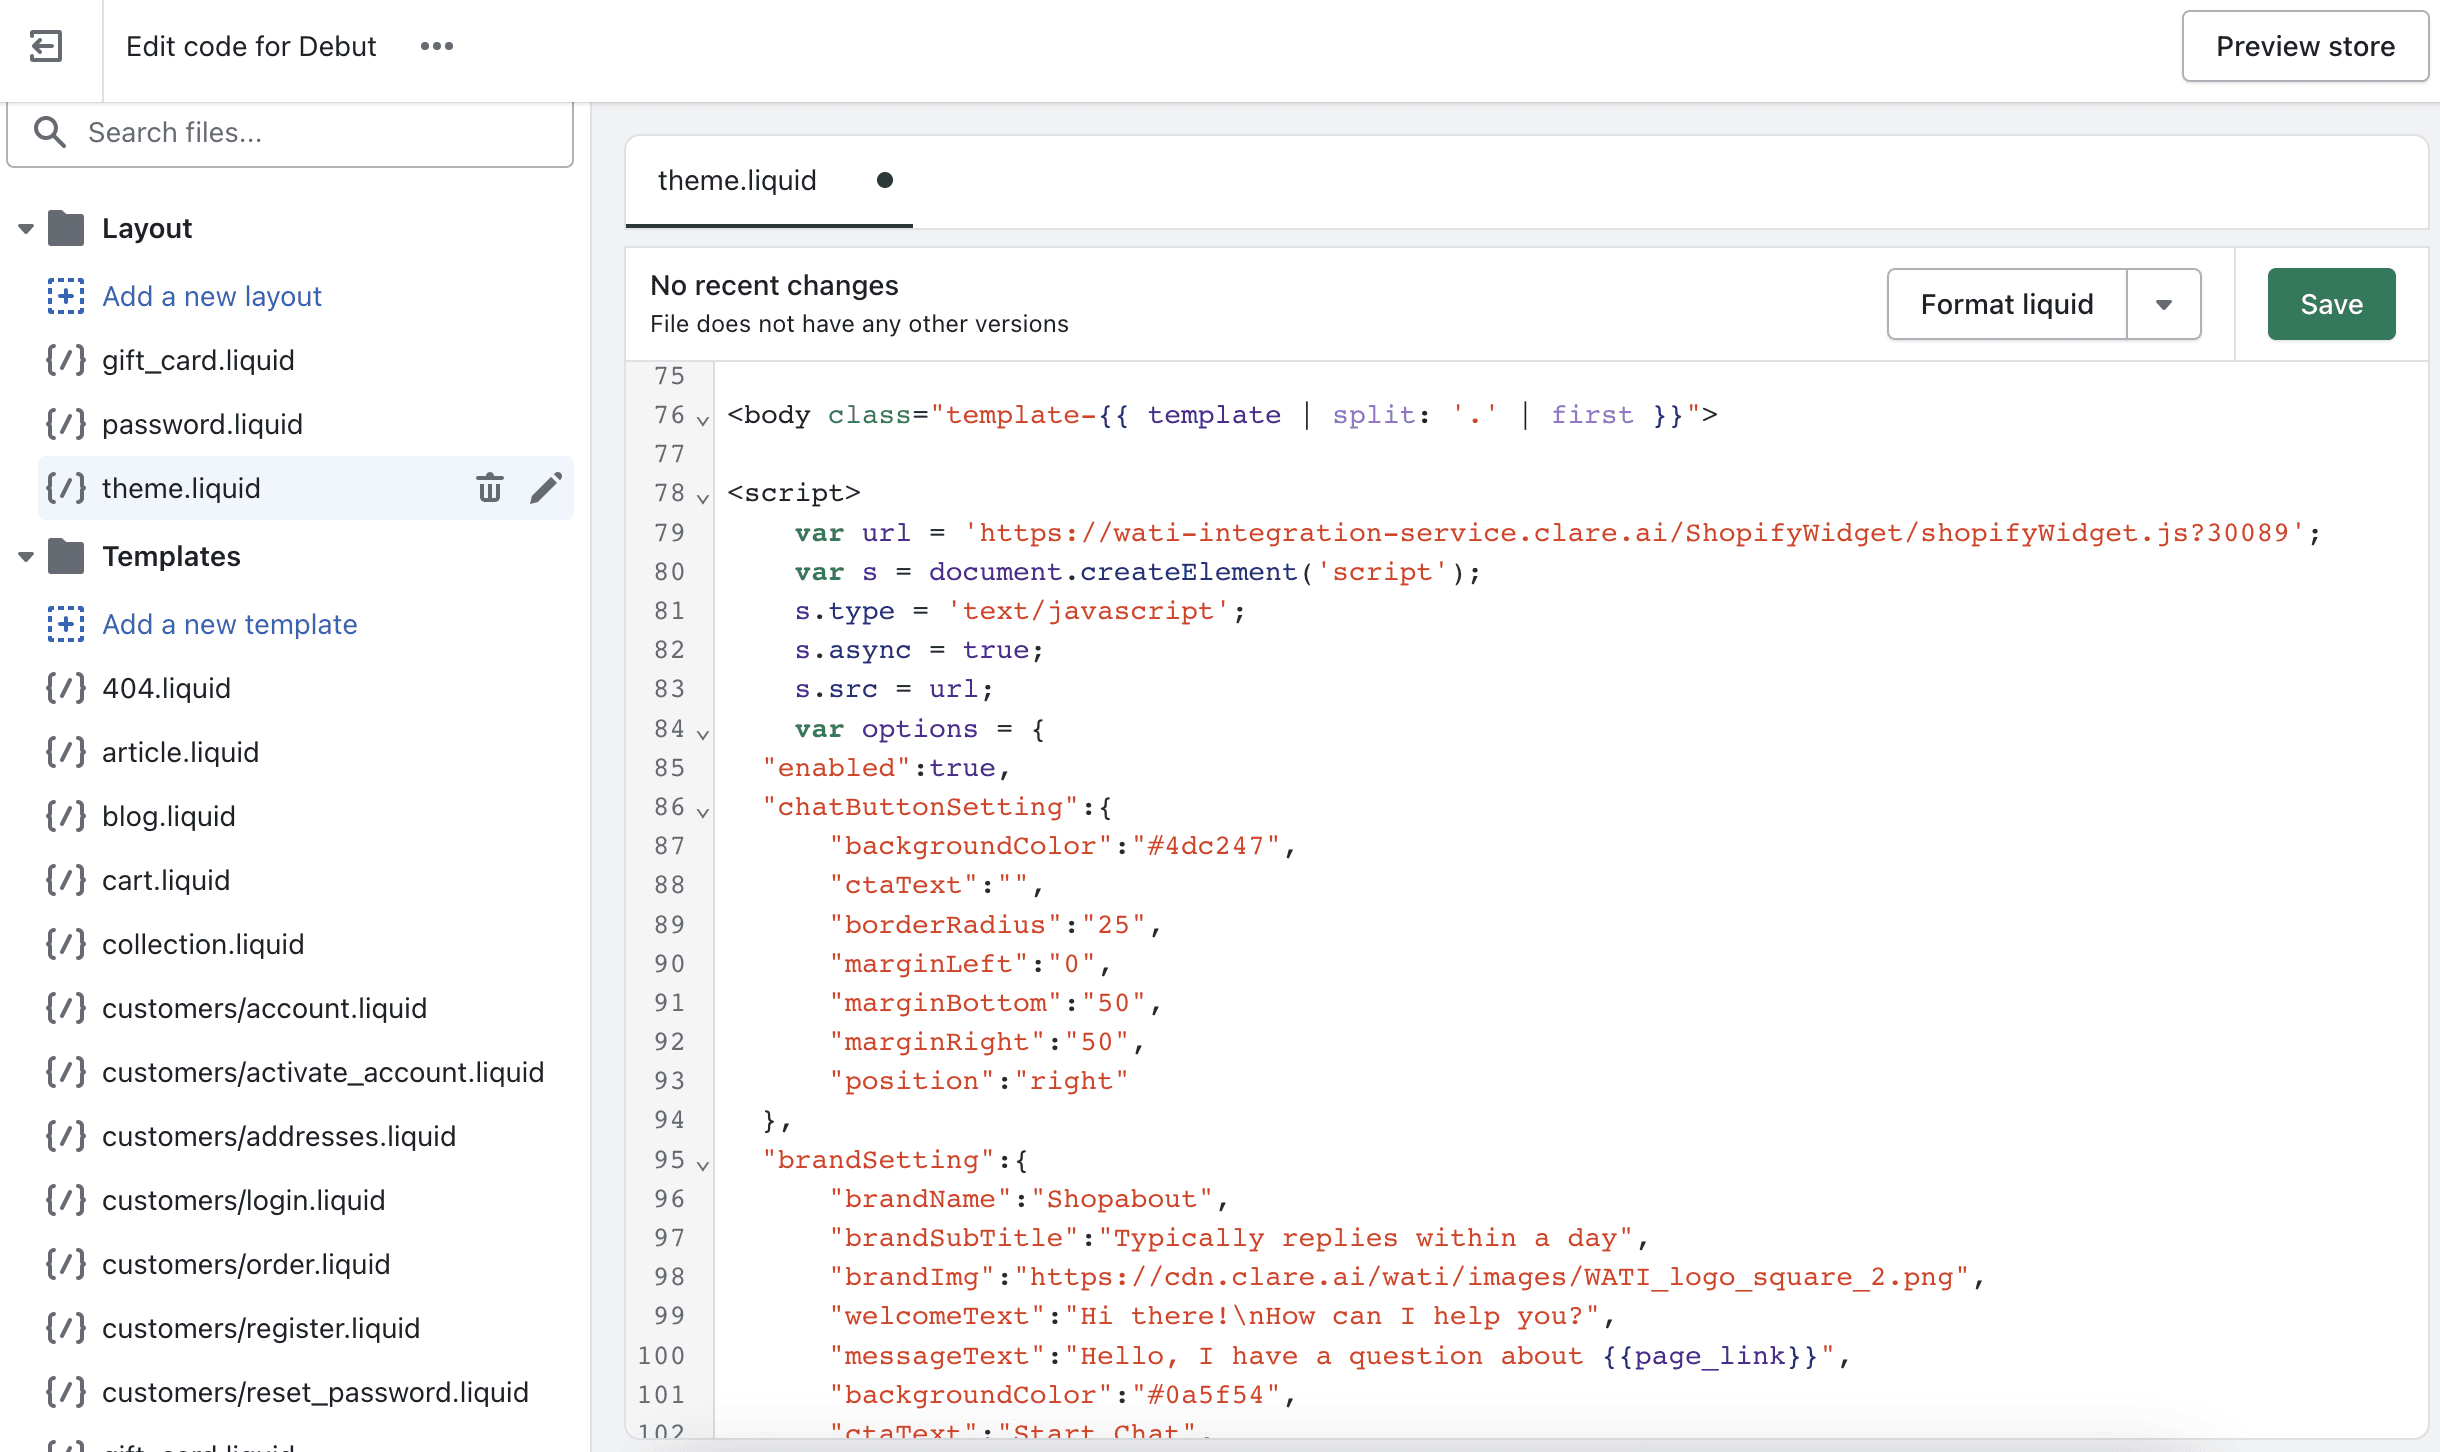
Every theme is different, but you’ll generally want to place the code in the <body> section of a file labeled ‘theme.liquid’.
For example, on the Debut theme, you’ll need to navigate your way to the ‘theme.liquid’ file, and then paste your embed code under <body>, as such:
Get Professional Help with Adding a WhatsApp Button
We hope you found the tutorial useful. If you find the process too technical and prefer hands on support to set up a WhatsApp chat button for your Shopify store, you can submit your project details and we will get back to you within 1 working day with a quote.